Touch ⓘ in the person frame of the Kins Wheel to open the person details page.
The upper part of the screen shows life events.
The lower part of the screen shows person biography, sources or event locations on a map, respectively.
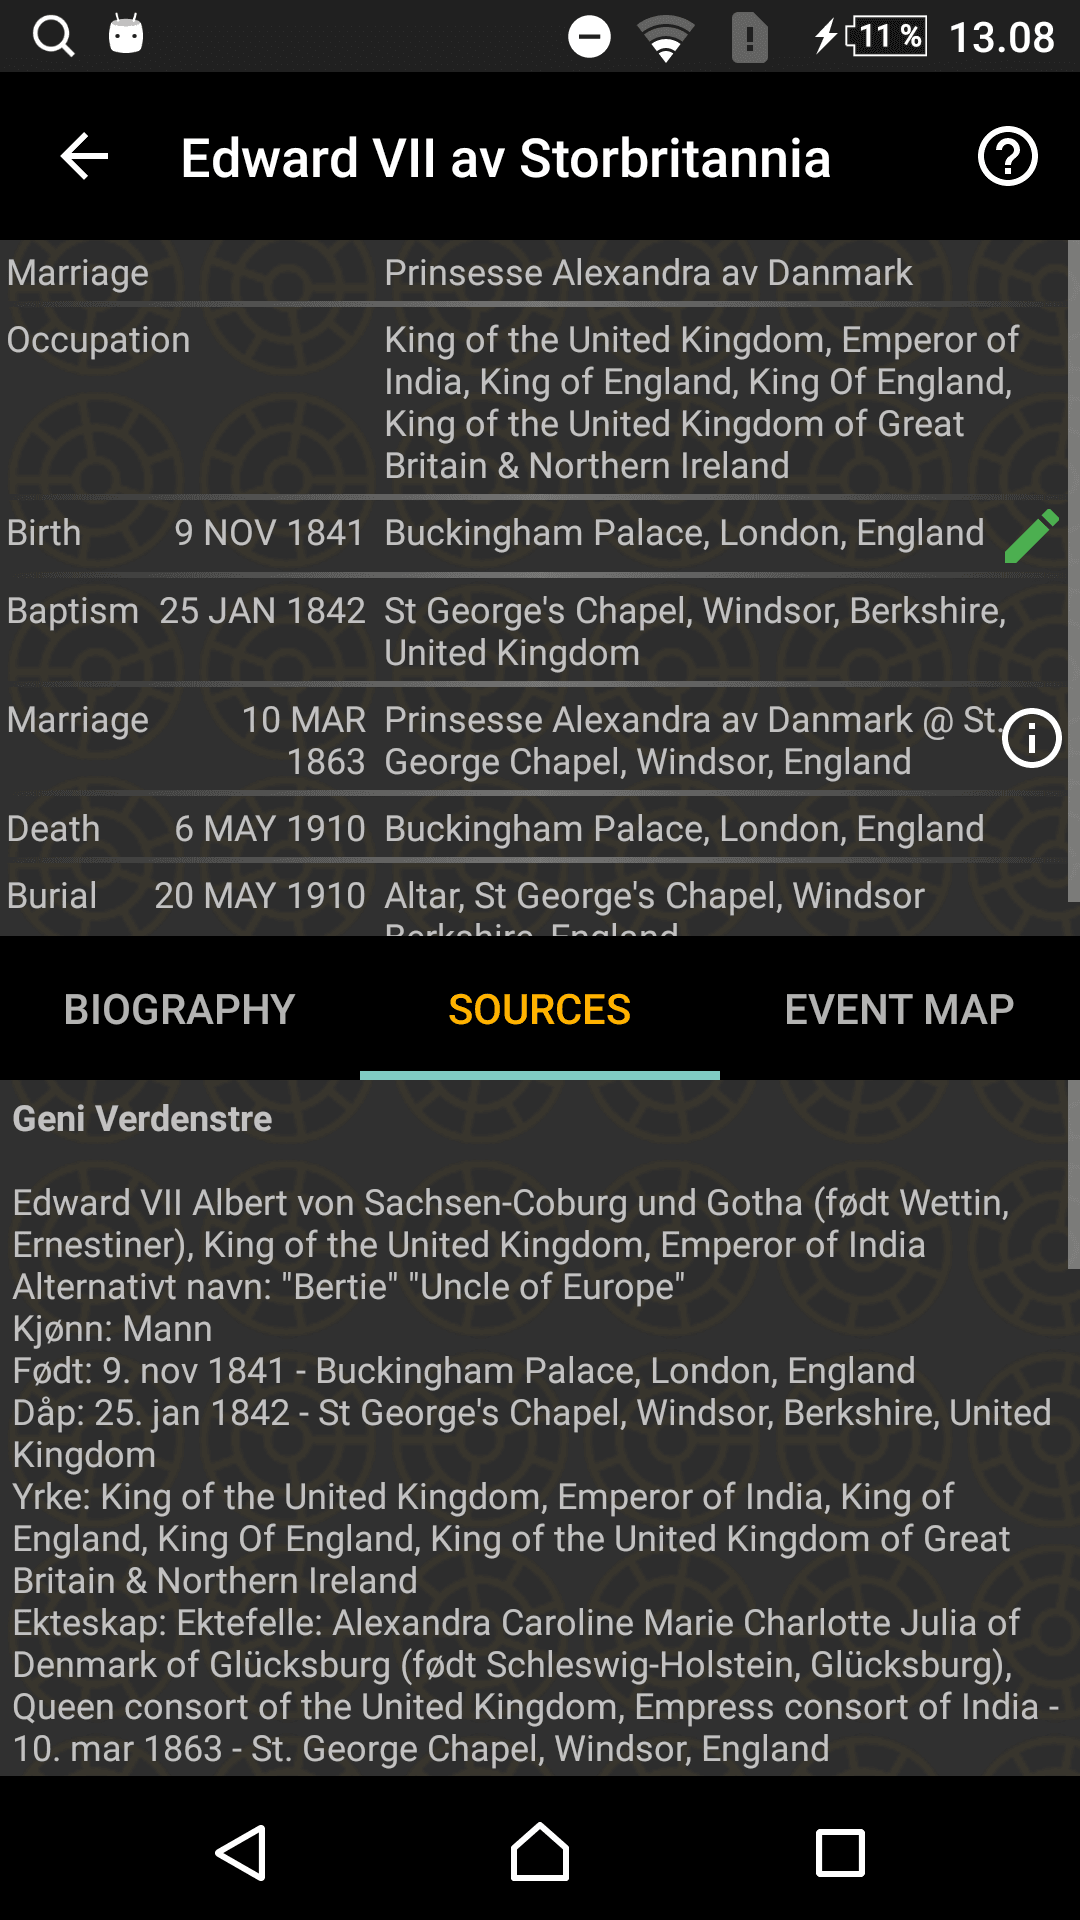
In case there are event notes or citations an ⓘ will appear and the details are displayed after a touch on the event. Another touch hides the details.
To the right of the birth place a colored pencil icon shows the status of the place lookup:
Tapping the pencil icon will take you to the Place Edit page.
In case the photo links of the GEDCOM file points to open internet addresses the photos are displayed automatically.
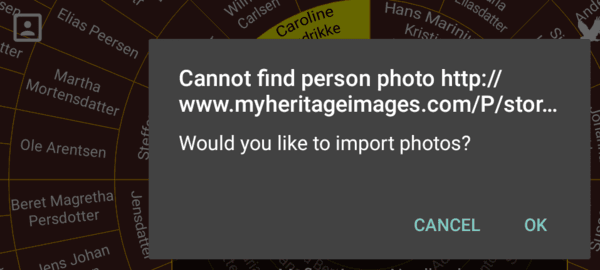
If the GEDCOM file contains a link to a photo which is unavailable, a portrait icon appears in the upper left corner. Click on this icon to select a local photo directory to use for the current family tree.
For Kinsmap to pick the right photo, the name of the picture file must match the filename used in the GEDCOM file.
In case there is neither a photo nor a portrait icon for a person that is supposed to have a photo, the photo link is most probably missing from the GEDCOM file, and you will have to check that you exported your GEDCOM file with photo information.
You will find the poster function under the Extra menu in the upper right corner. Select this and a poster of the current Kins Wheel is produced, including a header and footer.
The poster is saved immediately as if you had taken a photo with your device camera and it can then be opened and shared from your photo app of choice.

The poster is produced with the same colors and background as displayed on the screen. If you intend to print the poster on an ordinary printer it might be a good idea to change to the Light color theme under Settings. Try to experiment with text size and generation counts to get the best poster results. Remember it is also possible to extend sector sizes in the Kins Wheel.
This page can be reached by tapping the pencil icon on Person details page. Here you can check the current birth place of the selected person, change it or add a new. If the registered birth place has been located it will be indicated on the map.
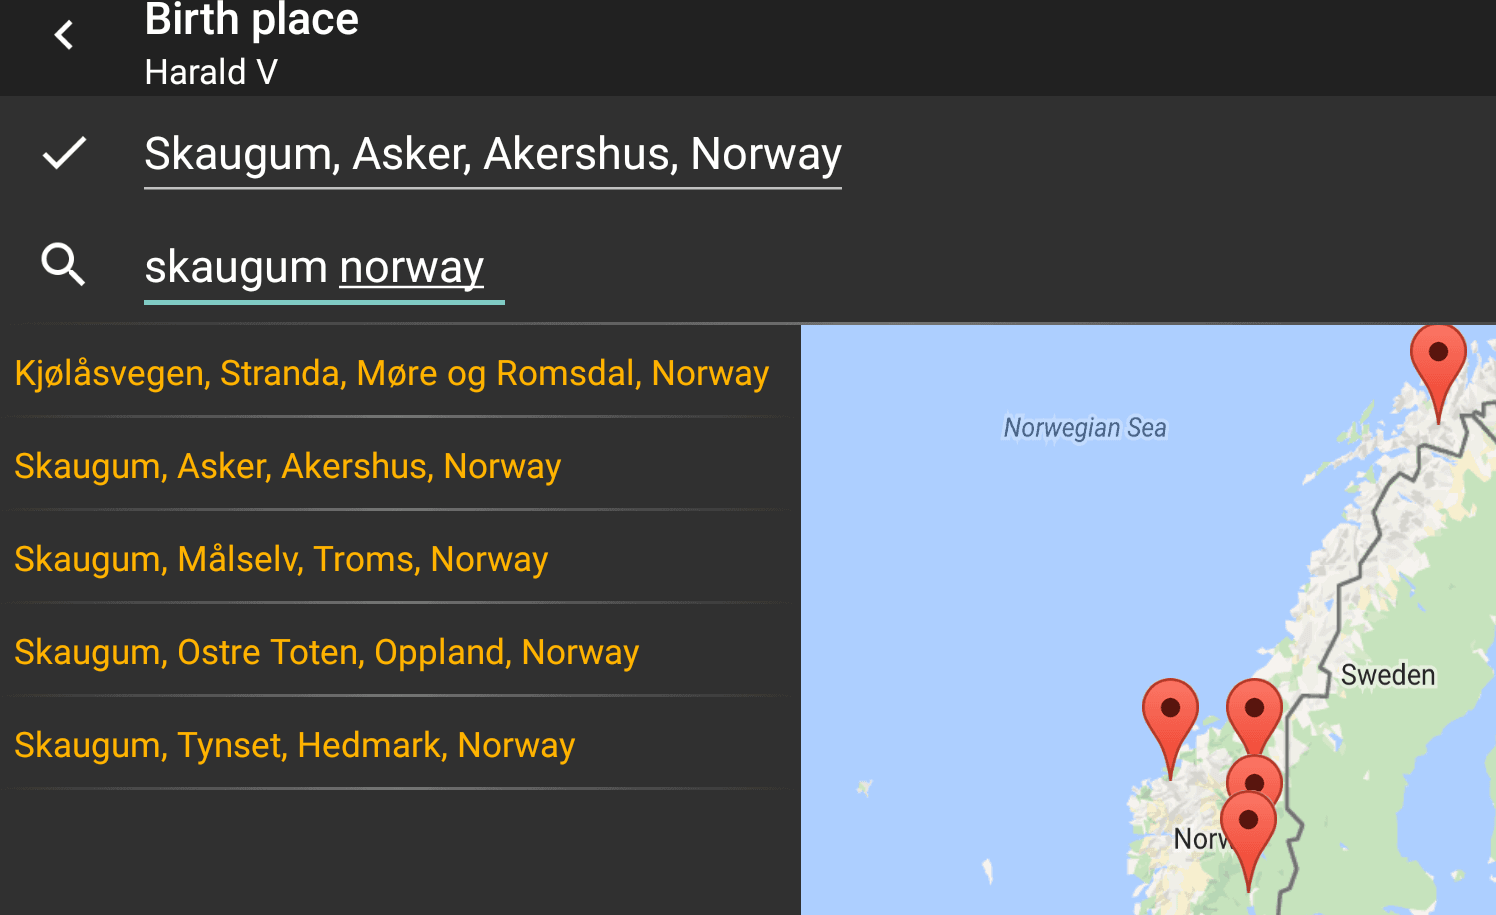
If you want to edit an existing place without any search this can be done directly in the edit line.
This function makes is possible to compare and merge branches or roots between familiy trees.
Start out by opening a tree in the normal way. Then open the Extra menu in the upper right corner and select 'Open tree for comparison'.
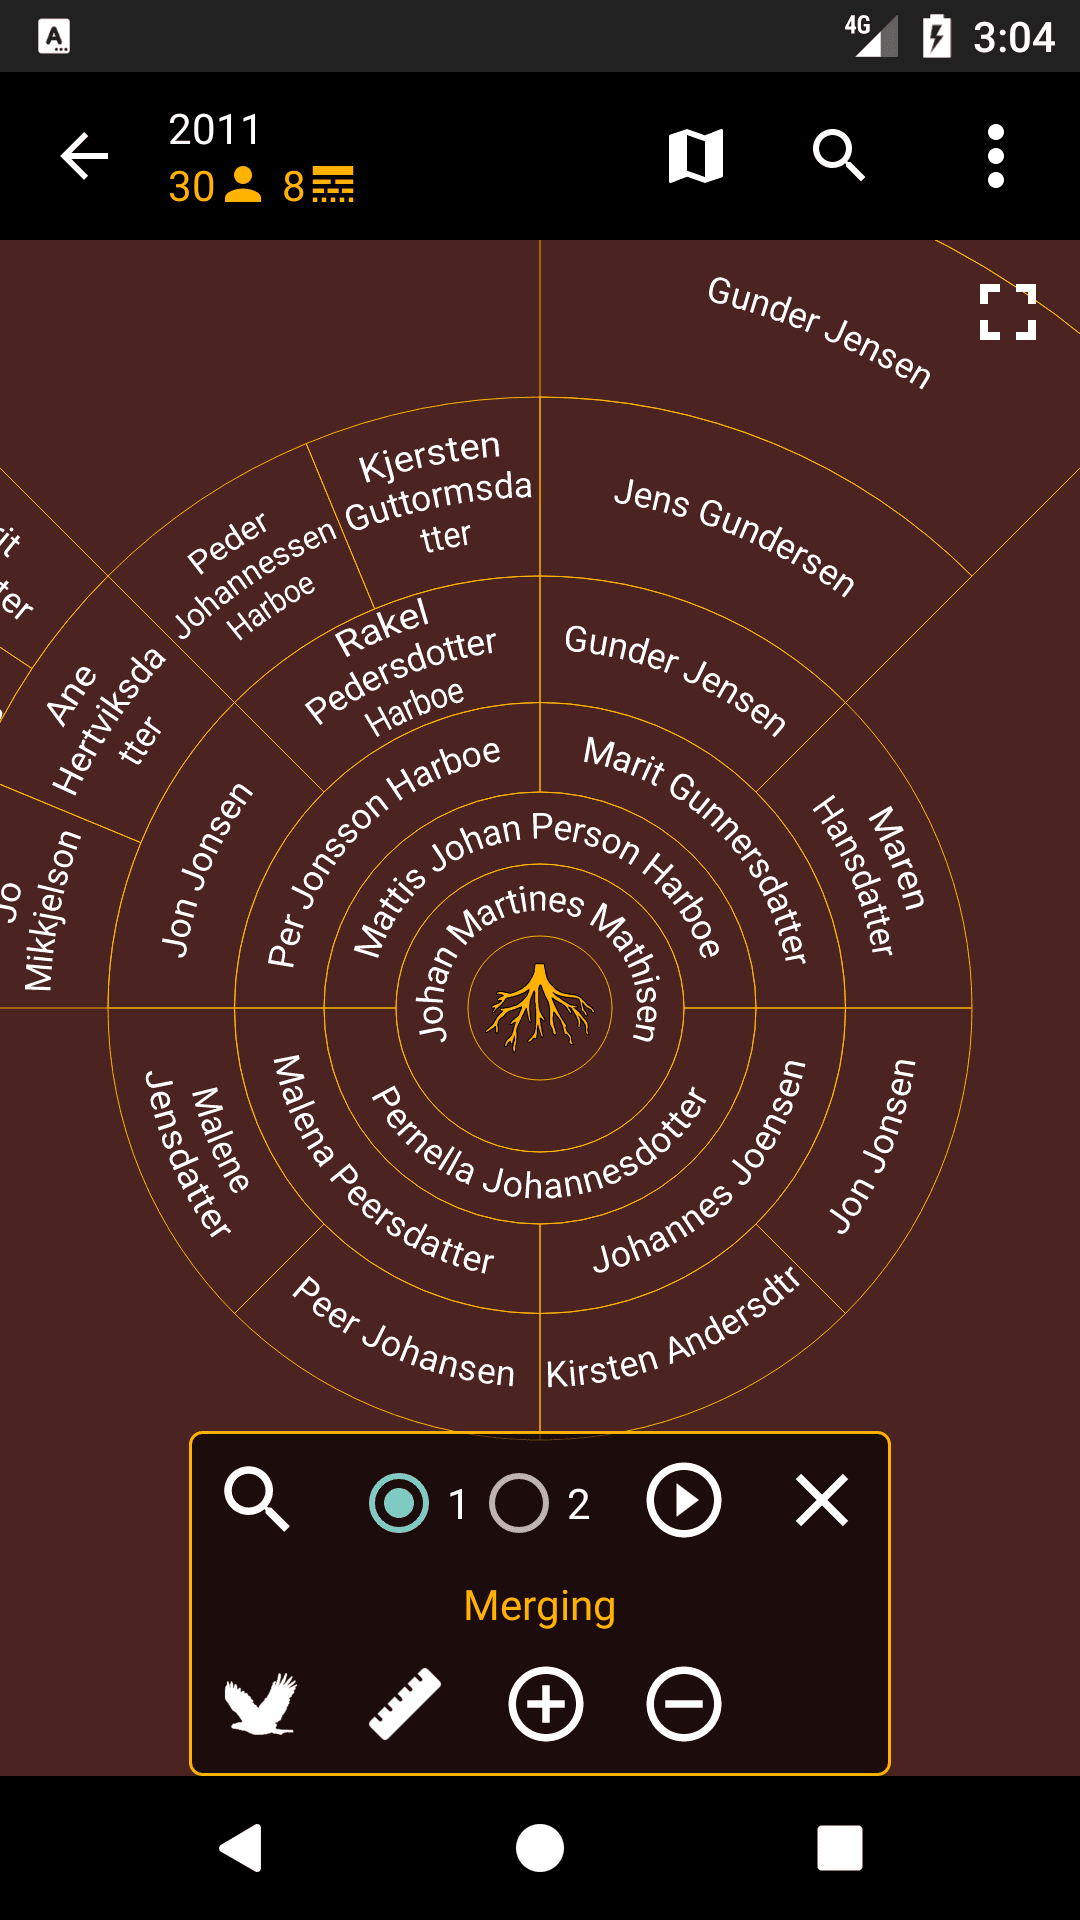
If both trees have the same proband the person menu will look like this.
Start the compare operation by pressing the play button.
In case the probands are not matching, tap the search button to find common relatives. Whether to compare ancestors or descendants is given by the perspective of tree no.1.
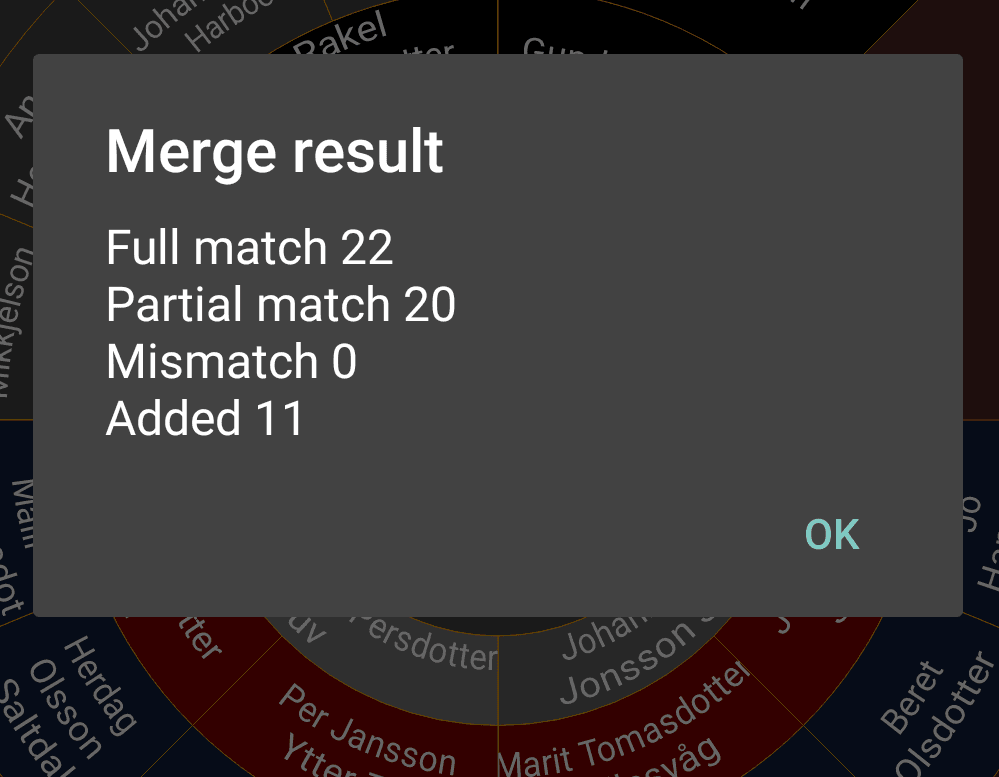
The number of matches, mismatches and added persons are presented in a frame and in a color coded wheel.
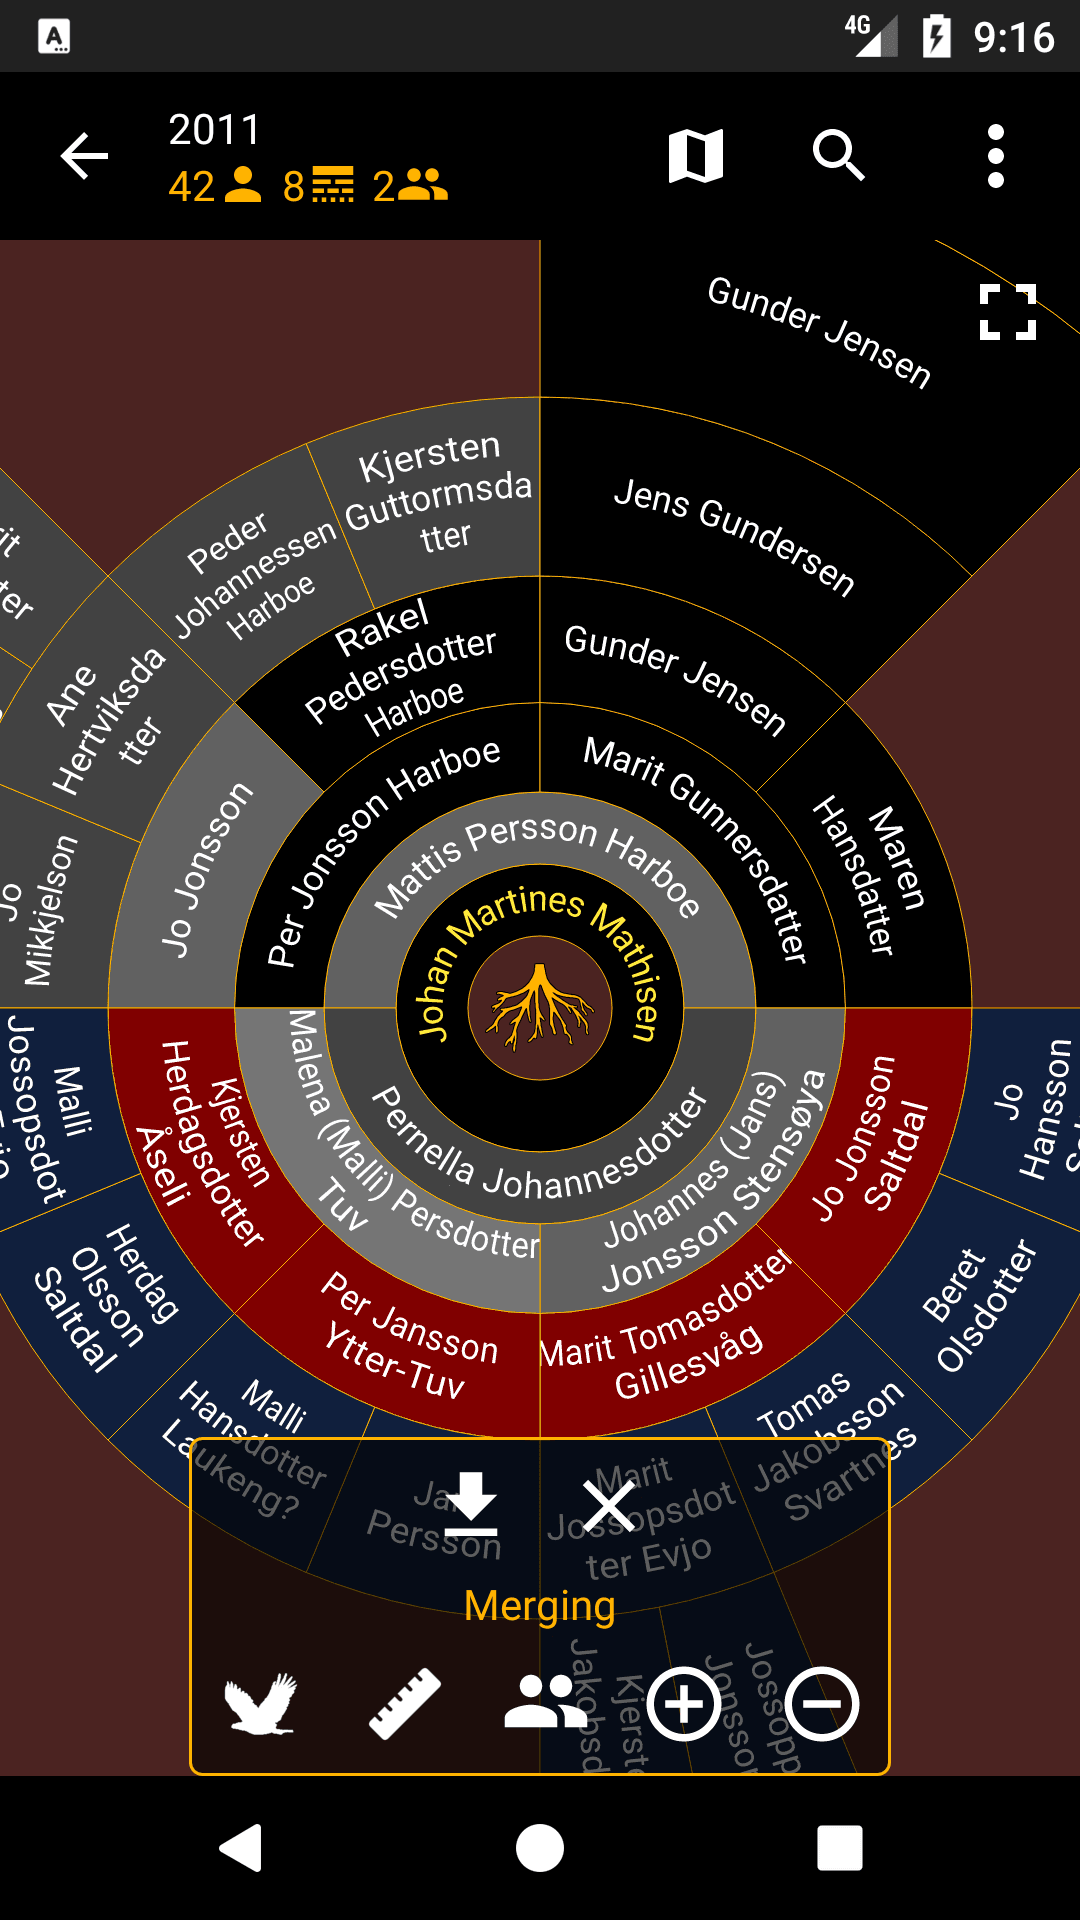
Color codes
Black: full match on name and year of birth
Lighter shades of grey indicate decreasing degree of match
Red: mismatch
Blue: the person was added from tree no. 2
Finally, the result can be saved by tapping the down arrow icon.
Other options:
Keep in mind that most buttons have a tool tip that is shown upon a long press.